
An appeal form is not a conversation. It is a one-way submission that may be reviewed by automated systems, human reviewers, or both. What you attach, how you describe the problem, and whether you can prove ownership often decide the outcome more than the strength of your feelings about the lockout.
This guide covers the evidence checklist I use before submitting recovery or appeal requests to Google, Apple, and Meta. The platforms differ, but the principle is the same: save the proof before you submit, because you may not get a second chance to add it later.
I have watched family members lose appeals simply because they closed the browser before saving the confirmation number or because they could not later prove a purchase that would have established ownership. The extra ten minutes spent organizing evidence has been worth more than any amount of re-submitting the same form with less proof.
Why Evidence Comes Before the Form
Most appeal systems do not let you easily upload new files after the first submission. If you close the browser, lose the confirmation number, or forget the exact wording you used, you may have to start over with less credibility. Capturing everything first protects you from that.
Save the screenshot before you close the page. Write down the date and time. Note any reference or case number the platform shows.
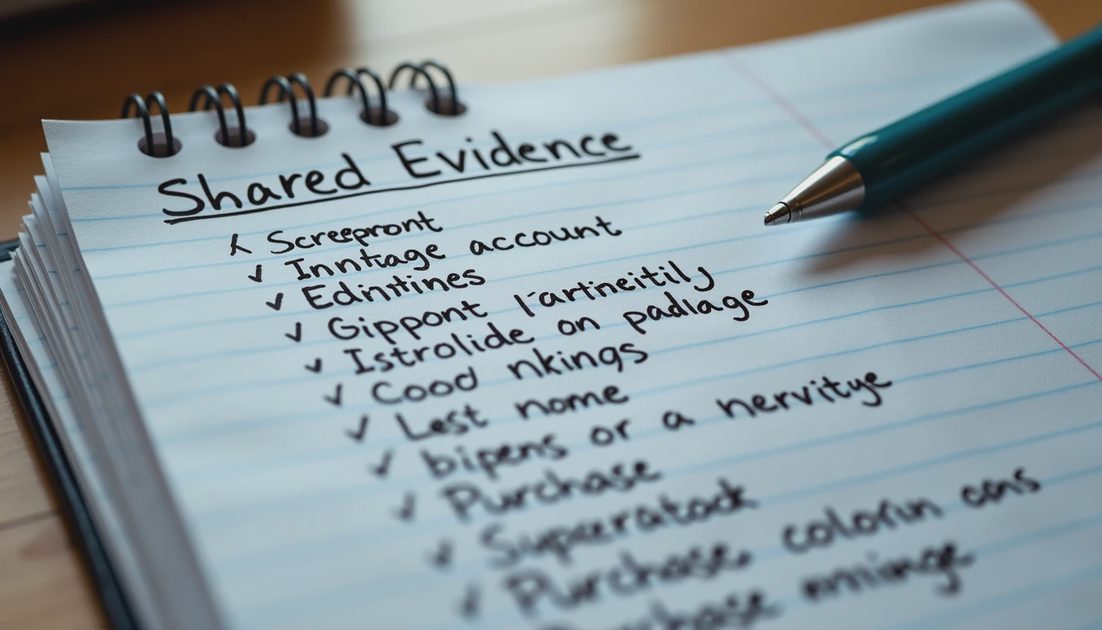
Shared Evidence Checklist for All Three Platforms
Collect these items when they exist:
Screenshots of the lockout or suspension message
The exact account identifier (email, username, phone number)
Dates of account creation or last successful access
Previous passwords or password hints you still remember
Purchase receipts, subscription confirmations, or app-store records tied to the account
Device serial numbers or IMEI if the account is linked to hardware
Photos of government ID only if the platform explicitly requests them through a secure official channel
Any prior correspondence or case numbers from earlier support contacts
Do not email sensitive ID documents to random support addresses that appear in search results. Use only the official upload paths inside the recovery or appeal flow.
Platform-Specific Notes
Google recovery often weighs previous passwords, recovery methods, and account-creation timing. If you previously set up a recovery email or phone, have that device or inbox available on a clean setup. Purchase history linked to Google Play or other Google services can also help establish ownership.
Apple
Apple ID recovery frequently involves device information, purchase history, and the ability to receive codes on trusted devices or numbers. If you still have a trusted device that can display a verification code, use it. Keep records of any AppleCare or App Store purchases that show the same Apple ID.
Meta (Facebook / Instagram)
Meta appeals often require proof that you are the person shown on the profile or that you control the original contact methods. Username history, old email addresses, and screenshots of prior successful logins can matter. If the account is a business or creator account, have any business documentation ready.
Platform | High-value proof | Common gap that weakens appeals |
|---|---|---|
Prior passwords, recovery methods, creation timing | Starting recovery from the compromised device | |
Apple | Trusted device codes, purchase history, device serials | Missing App Store or iCloud receipts |
Meta | Profile ownership signals, old contact methods | No screenshots of the original lockout message |
How to Organize the File Before You Submit
Create a single folder named with the platform and the date, for example “Google-recovery-2026-09-28.” Inside it, keep:
A short text note with the account identifier, the date you noticed the problem, and the exact message you saw
Screenshots with clear file names
Receipts or PDFs
A running log of every submission, including the time and any confirmation number
When you fill out the form, use calm, factual language. State what happened, what you still control, and what proof you are providing. Avoid long emotional narratives; reviewers are looking for ownership signals and consistency.
Name files so that anyone—including a future version of yourself—can understand them later: “2026-09-28-lockout-message.png,” “play-store-receipt-2024.pdf,” “prior-password-list.txt.” Clear names reduce the chance that a rushed re-submission forgets a key attachment.
After You Submit
Write down the confirmation number and the date. Do not open duplicate appeals on the same day unless the platform instructs you to do so. Check the recovery email or phone regularly from a clean device. If the platform asks for more information, respond through the official channel with the same organized evidence set.
If the appeal is denied, read the denial carefully before starting over. Some platforms tell you what was missing or what to try next. Others give a generic message. In either case, add the denial screenshot to your evidence folder and note the date. A later review or a different recovery path may ask for the history of prior attempts.
Stop the damage. Save the proof. Take the next step.
Later posts in this series cover the clean-device rule and specific recovery sequences. The evidence habits in this article apply across all of them. Treating every appeal as a documented event rather than a one-time gamble is the difference between a chaotic recovery and a controlled one.
No comments yet.