

When Gmail locks you out, the recovery form feels like the only door. It is not. The order of what you try, the device you use, and the evidence you save often matter more than the form itself. This is the sequence I follow and recommend to family members who are not technical and just need their mail back without making the lockout worse.
I am writing as someone who has been through Google account recovery more than once, both for myself and for relatives. The steps below assume a regular consumer account, not a school or work account managed by an administrator. School and workplace accounts often have different recovery paths controlled by an administrator; if that is your situation, contact the administrator first rather than using the consumer recovery form.
Start From a Clean Device
Do not begin recovery on the same phone or laptop that may still be partially under the attacker’s control. Use a different device, a browser that is not signed into the compromised Google account, and ideally a network that is not the one the attacker has been using.
If every device in the house shares the same Google login, create a temporary clean browser profile or borrow a trusted device long enough to submit the recovery request and receive codes.
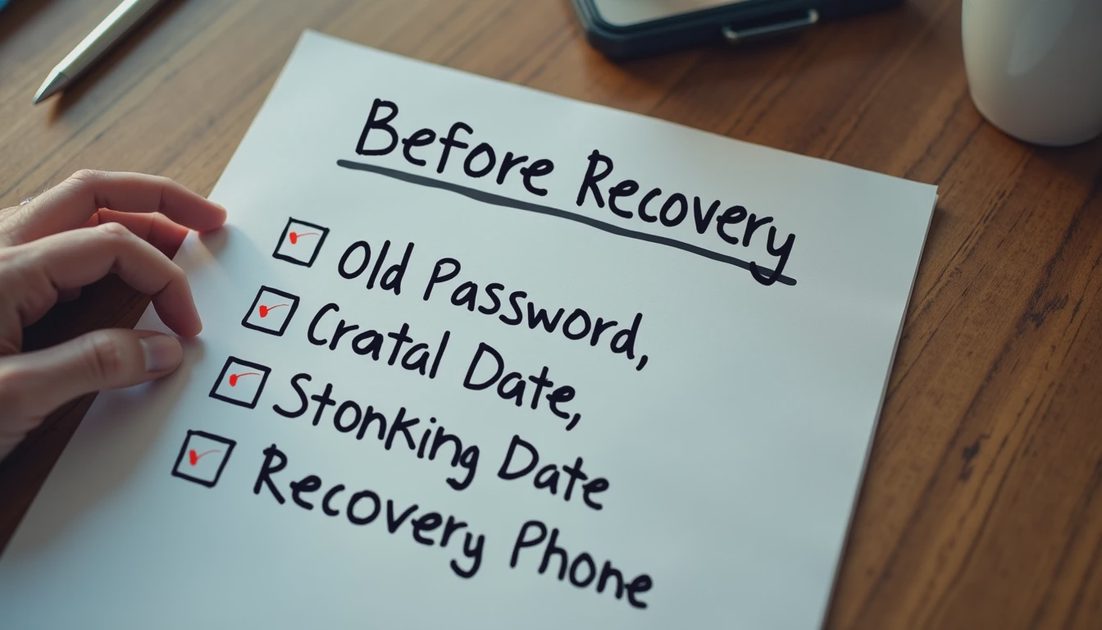
Gather What Google Will Ask For
Before you open the recovery page, collect:
The exact email address
Any previous passwords you still remember
The date you created the account or last successfully signed in, even approximately
Recovery phone numbers or secondary emails that still work
Screenshots of any security alerts you received
Google’s recovery process often asks for information only the real owner would know. Having it written down reduces the chance you will abandon the form halfway through and lose progress.
The Recovery Sequence
Go to the official Google account recovery page from the clean device.
Enter the email address and follow the prompts for verification methods you still control.
If a verification code is sent, receive it on a clean device or number the attacker does not control.
Answer the knowledge questions as accurately as you can. Approximate dates are better than blank fields.
Submit and wait. Do not open multiple recovery tabs or restart the process every few minutes.
If the form rejects you, do not immediately create a brand-new Gmail address and migrate everything. First document the rejection, save the screenshots, and try again after 24 hours with any additional details you can confirm.
Step | Action | Common mistake to avoid |
|---|---|---|
1 | Use a clean device and browser | Starting recovery on the compromised phone |
2 | Collect prior passwords and dates | Guessing wildly and locking the form further |
3 | Prefer authenticator or secondary email over SMS if SIM risk exists | Relying only on a number that may be swapped |
4 | Submit once and wait | Opening five recovery tabs in parallel |
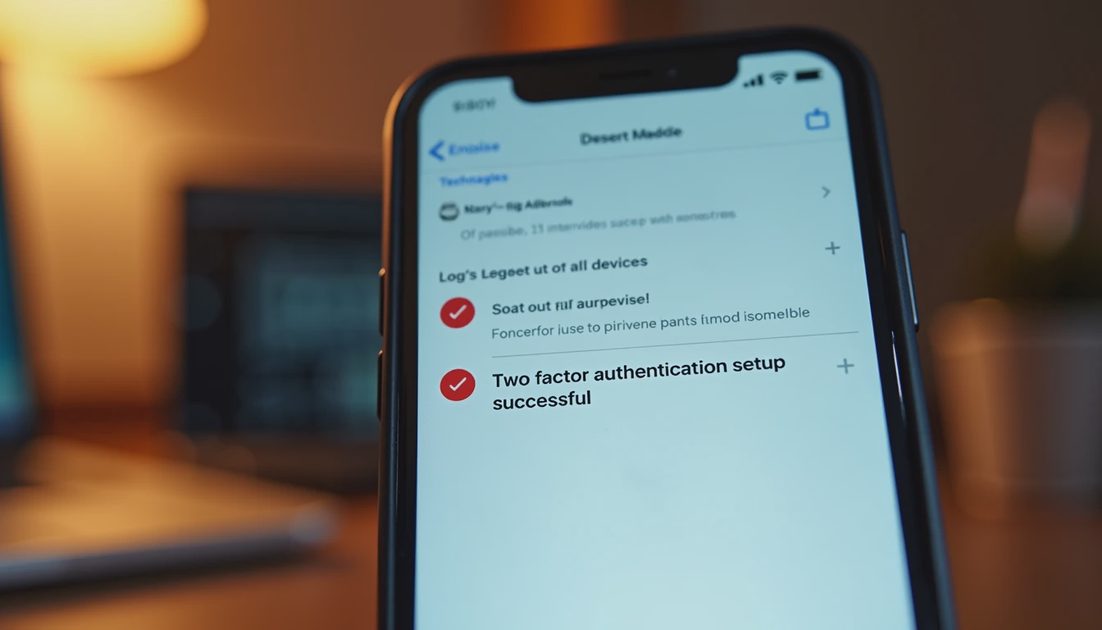
After You Regain Access
The moment you are back in, do four things before you read any mail:
Change the password to a long unique phrase.
Review and remove unfamiliar devices and sessions.
Check recovery phone, recovery email, and two-factor methods; remove anything you do not recognize.
Turn on two-factor authentication with an authenticator app or security key if you have not already.
Only after those steps should you scan the inbox and sent folder for further damage—password-reset emails sent to other services, forwarding rules the attacker may have added, or filters that hide messages.
Also check Google Account activity and recent security events. Look for unfamiliar locations, devices, or app passwords. If you find evidence of broader access, expand your response to the other accounts that used this Gmail address for recovery. The lockout may be the visible tip of a larger problem.
When Recovery Keeps Failing
If official recovery fails after multiple careful attempts, you may need to treat the address as permanently lost for login purposes while still monitoring it for recovery opportunities. In that case:
Document every attempt with dates and screenshots.
Begin changing recovery email addresses on banks, shopping sites, and other critical services to a new address you control.
File any relevant reports if the lockout is tied to identity theft or financial loss.
Consider whether a paid data-recovery or legal consultation is warranted only after the free official paths are exhausted.
Do not pay random “recovery services” that contact you unsolicited or appear in search ads promising guaranteed restoration. Many of those are scams that target people who are already locked out. Stick to official Google channels and, if needed, licensed professionals you choose yourself.
Also remember that a locked Gmail address can still receive mail. If you have any remaining access to a recovery phone or secondary email, set up forwarding or notifications where possible so you do not miss time-sensitive messages while the recovery process continues.
Stop the damage. Save the proof. Take the next step.
The next articles in this series cover appeals for Instagram and other Meta accounts, Apple ID recovery, and the clean-device rule in more detail. Gmail is often the key that unlocks everything else, which is why the first recovery sequence deserves this much care. The same principles—clean device, saved evidence, careful order—apply across almost every major platform.
No comments yet.